Sunday, June 16, 2019

Simply Serene Wedding Quilt


There is nothing more joyful than making a quilt for a loved one — or two special loved ones in the case of newlyweds. My sweet nephew, Frank, and his beautiful bride, Megan, were married recently in Minnesota in a wonderful riverside ceremony.


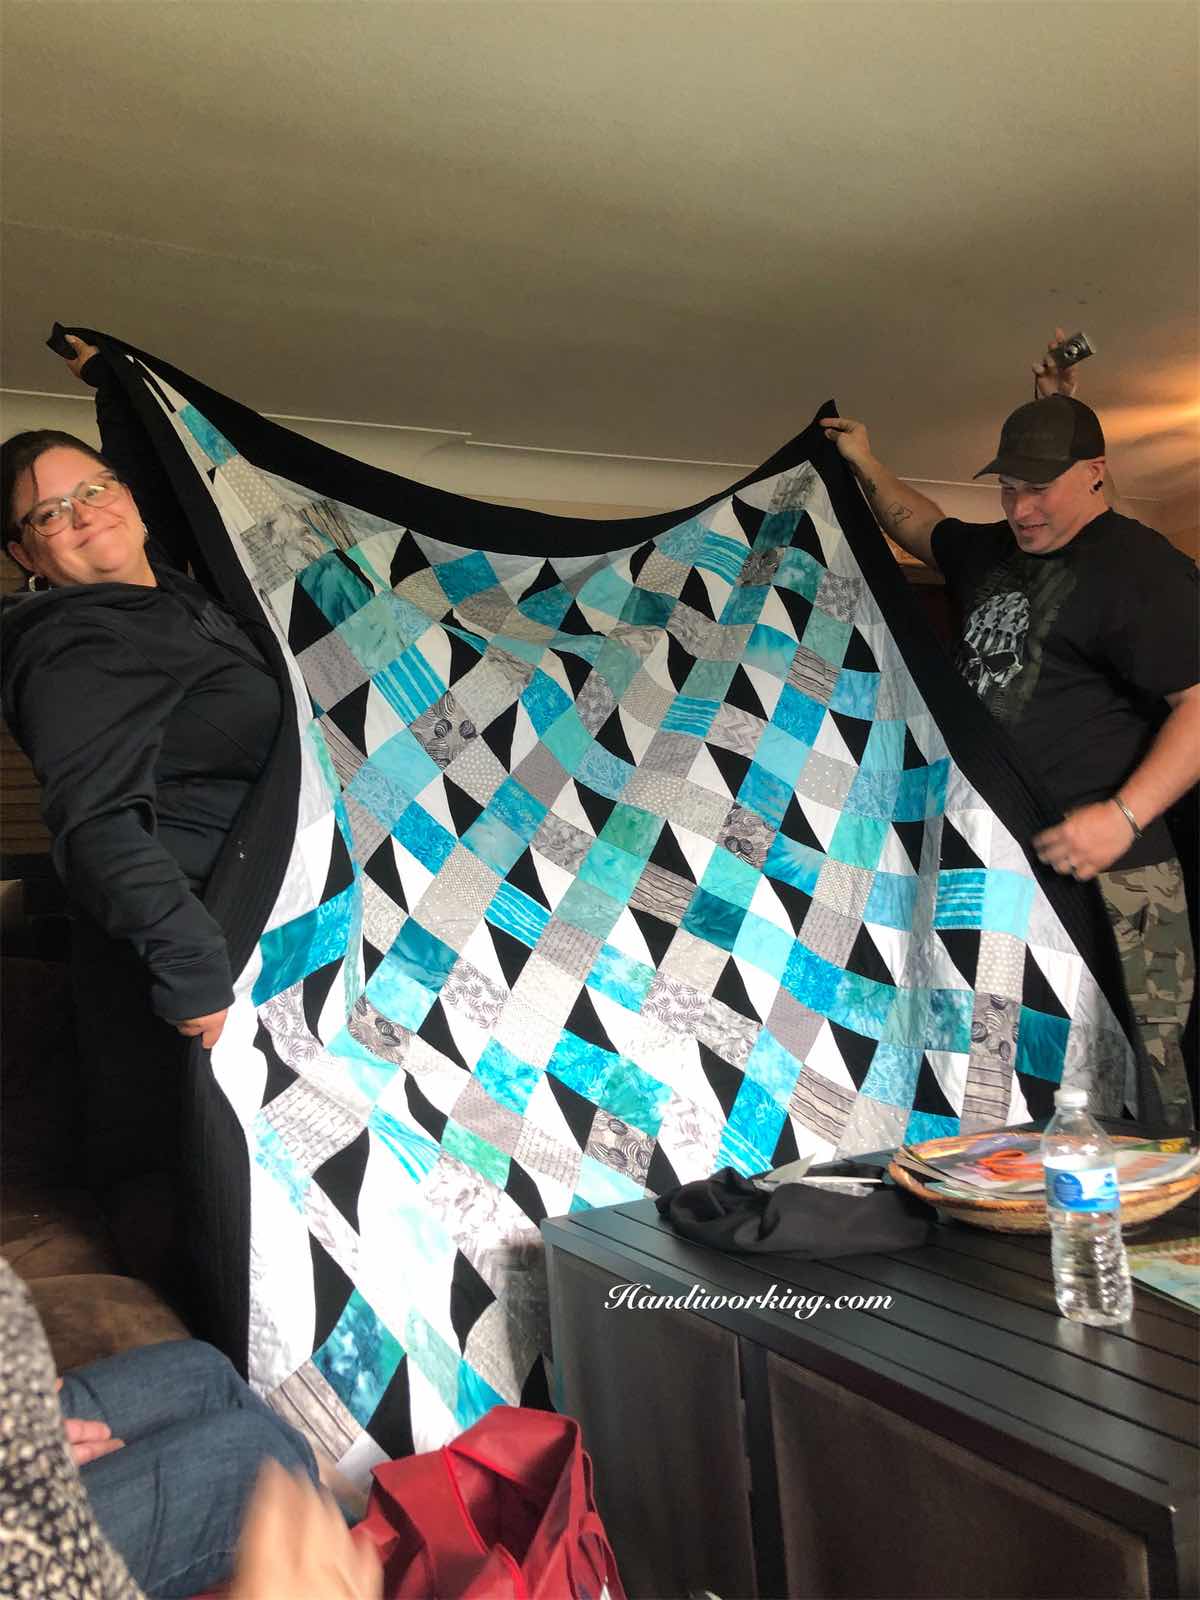
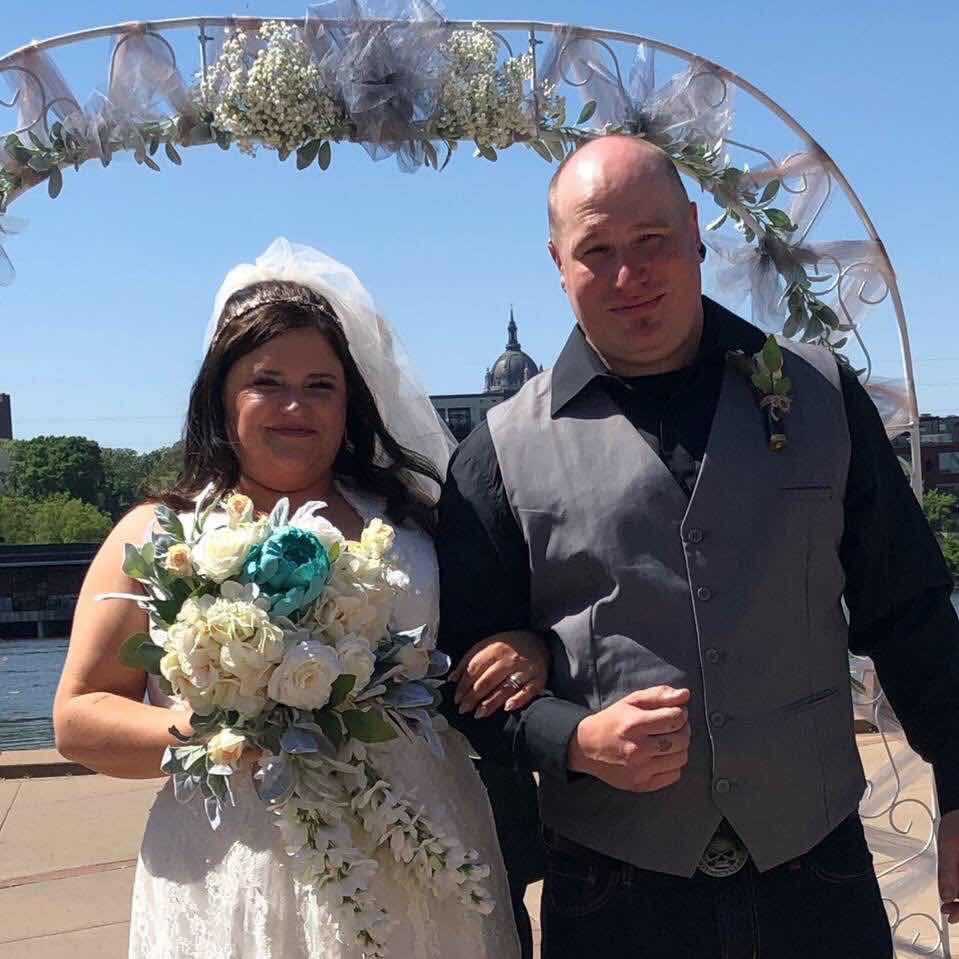
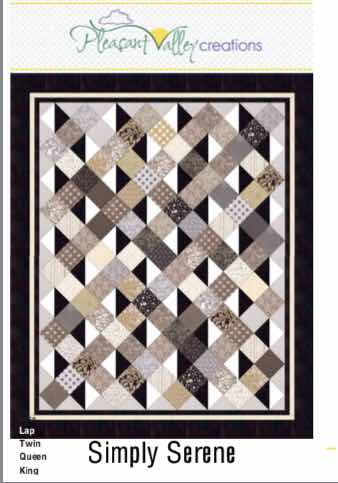
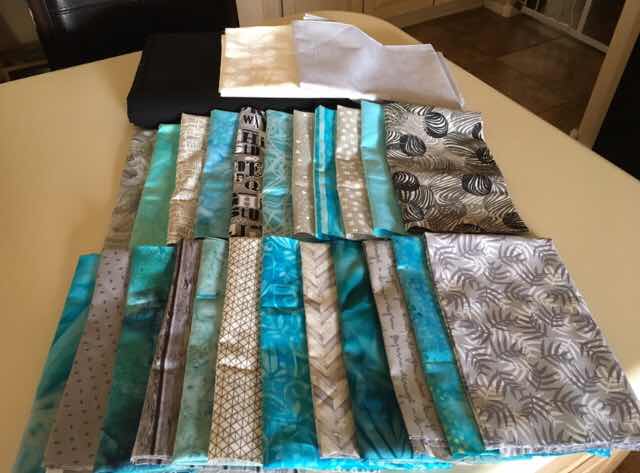
I spotted this amazing quilt pattern last October by Diana Beaubien of Pleasant Valley Creations and had to have it — isn’t Simply Serene gorgeous and fun? Went fabric shopping on New Year’s Day at a great nearby shop, Modern Quilting  The couple’s colors are teal, gray and black, which I knew would be stunning for this pattern. 


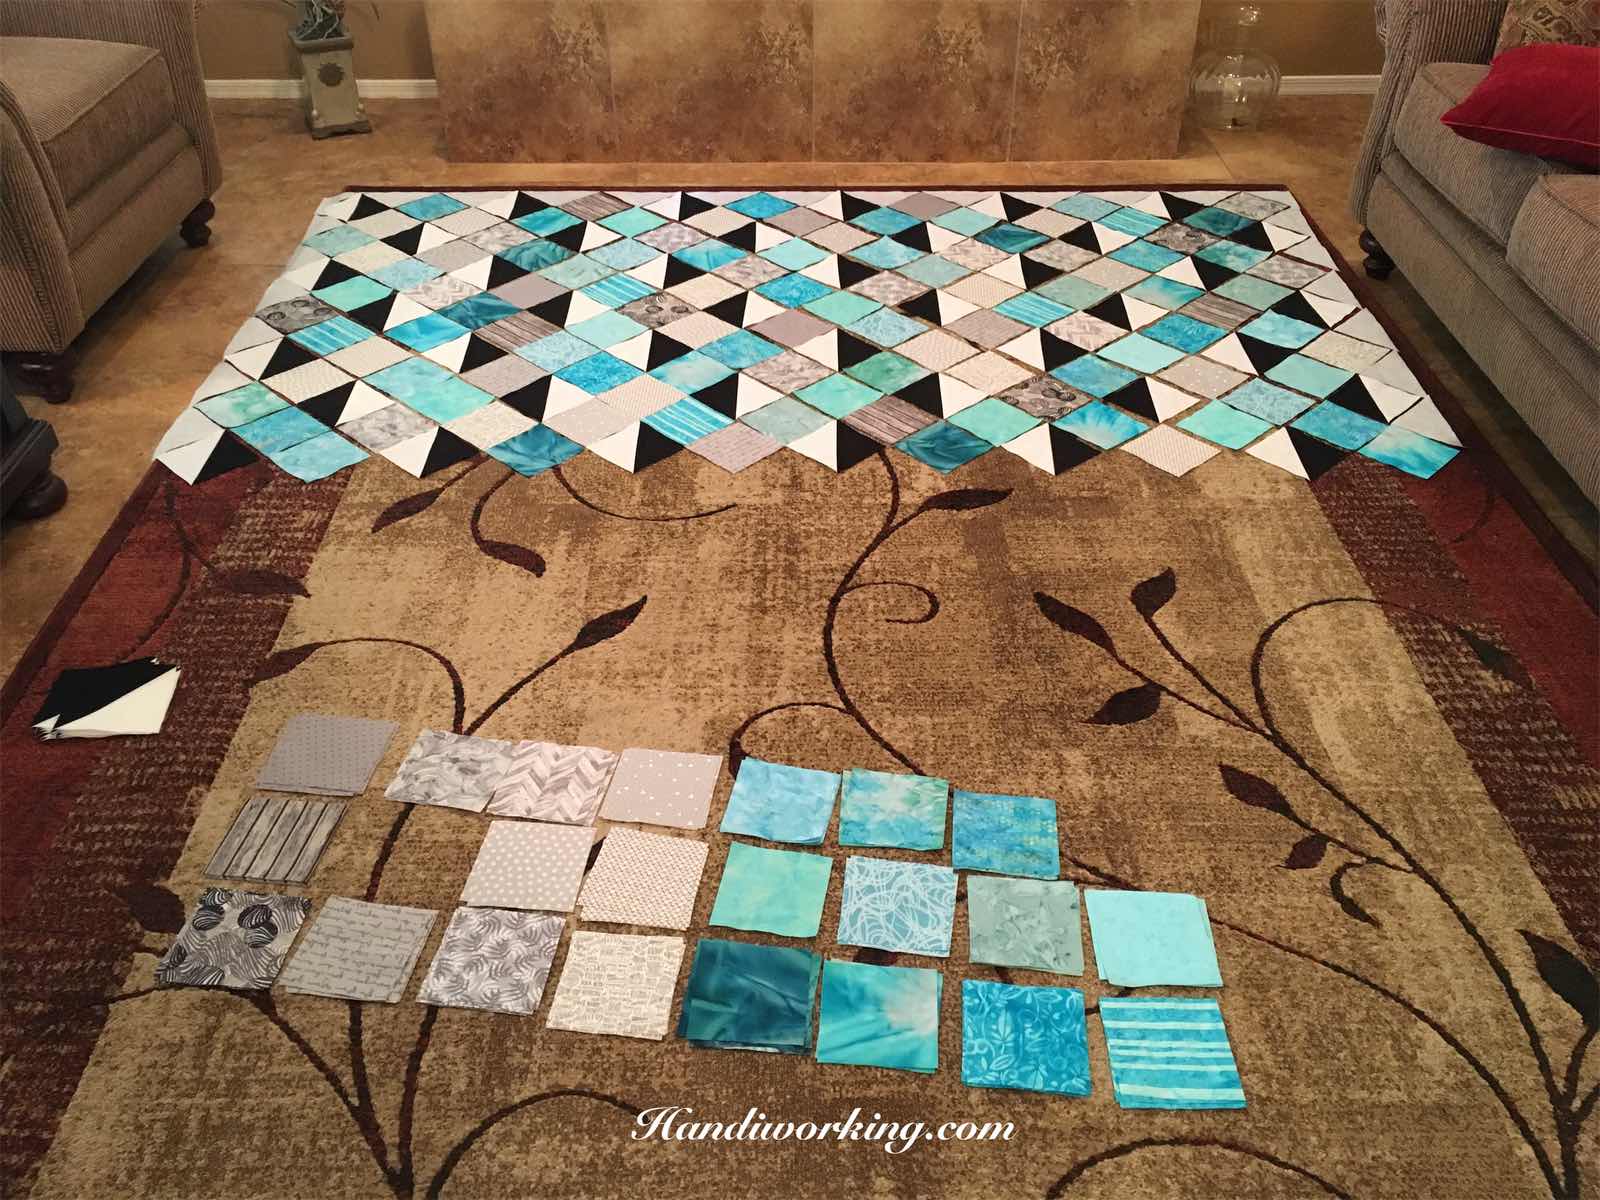
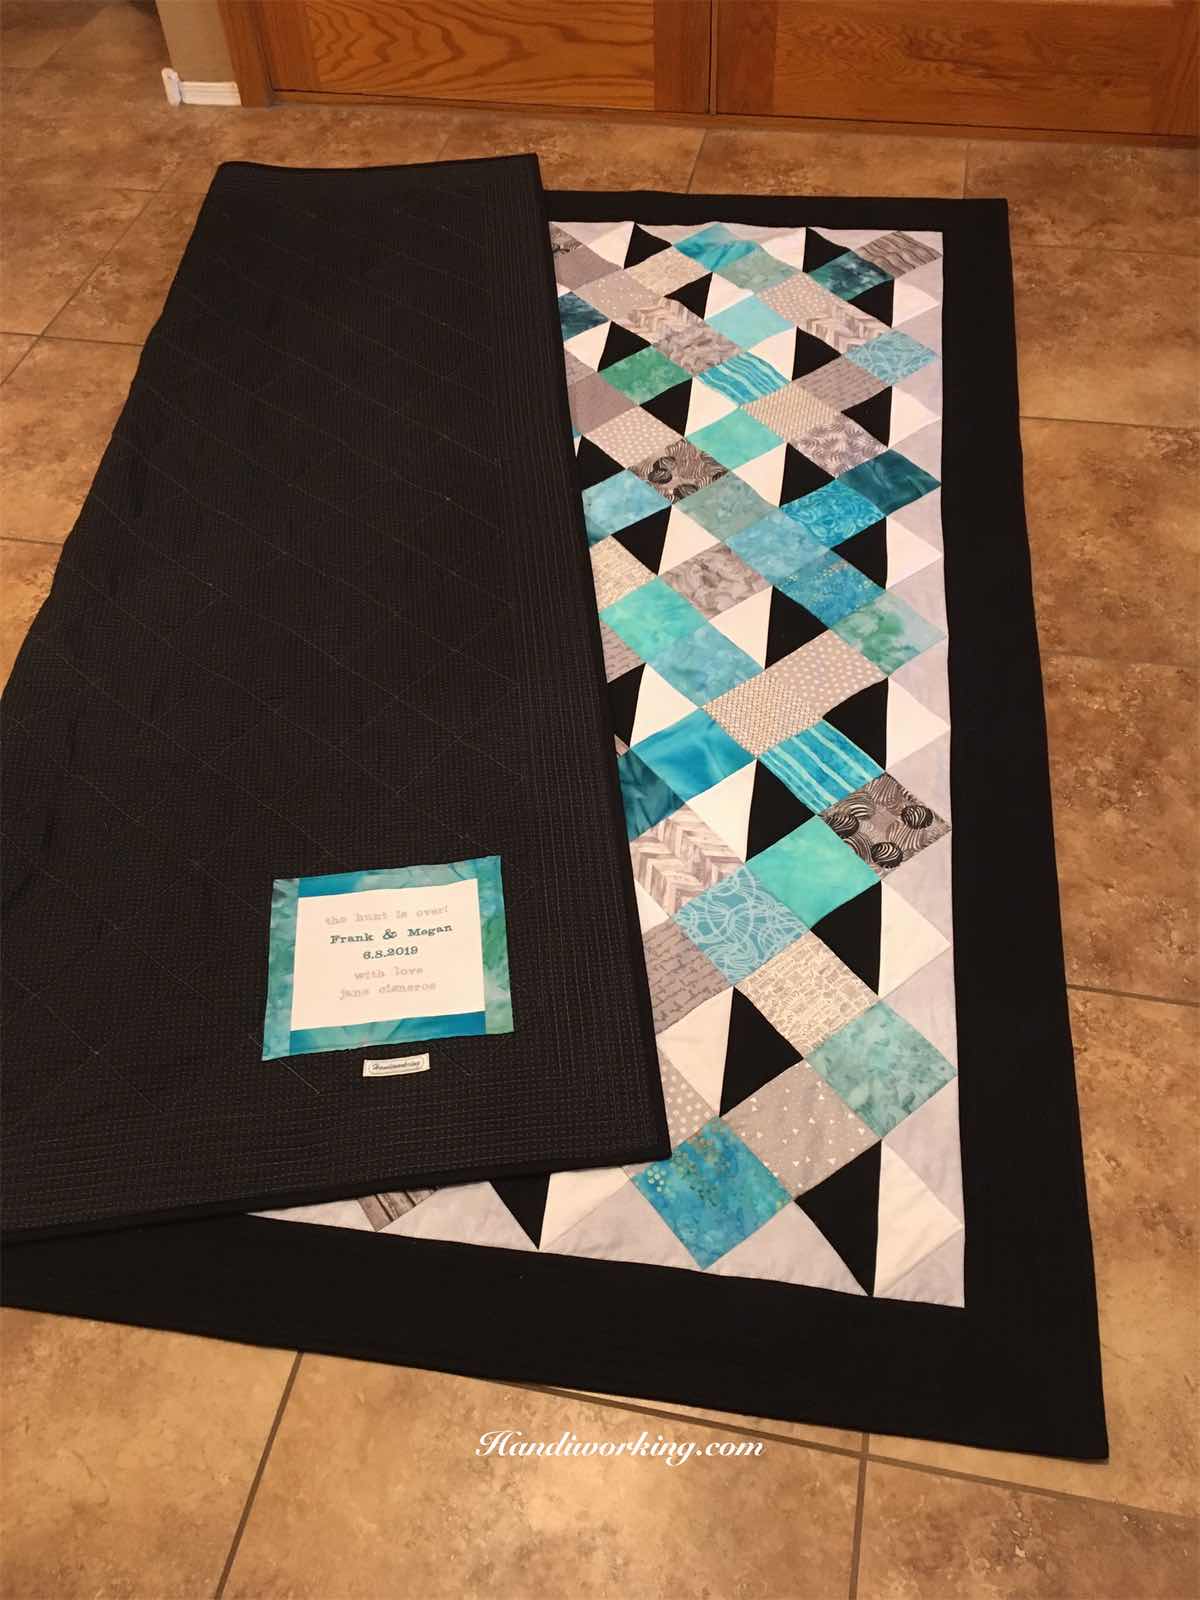
I started out intending to make the queen size but modified the pattern to a square with a single border. This was my first diagonal layout and it was pretty exciting watching it come together. The blocks covered the area rug in our living room.


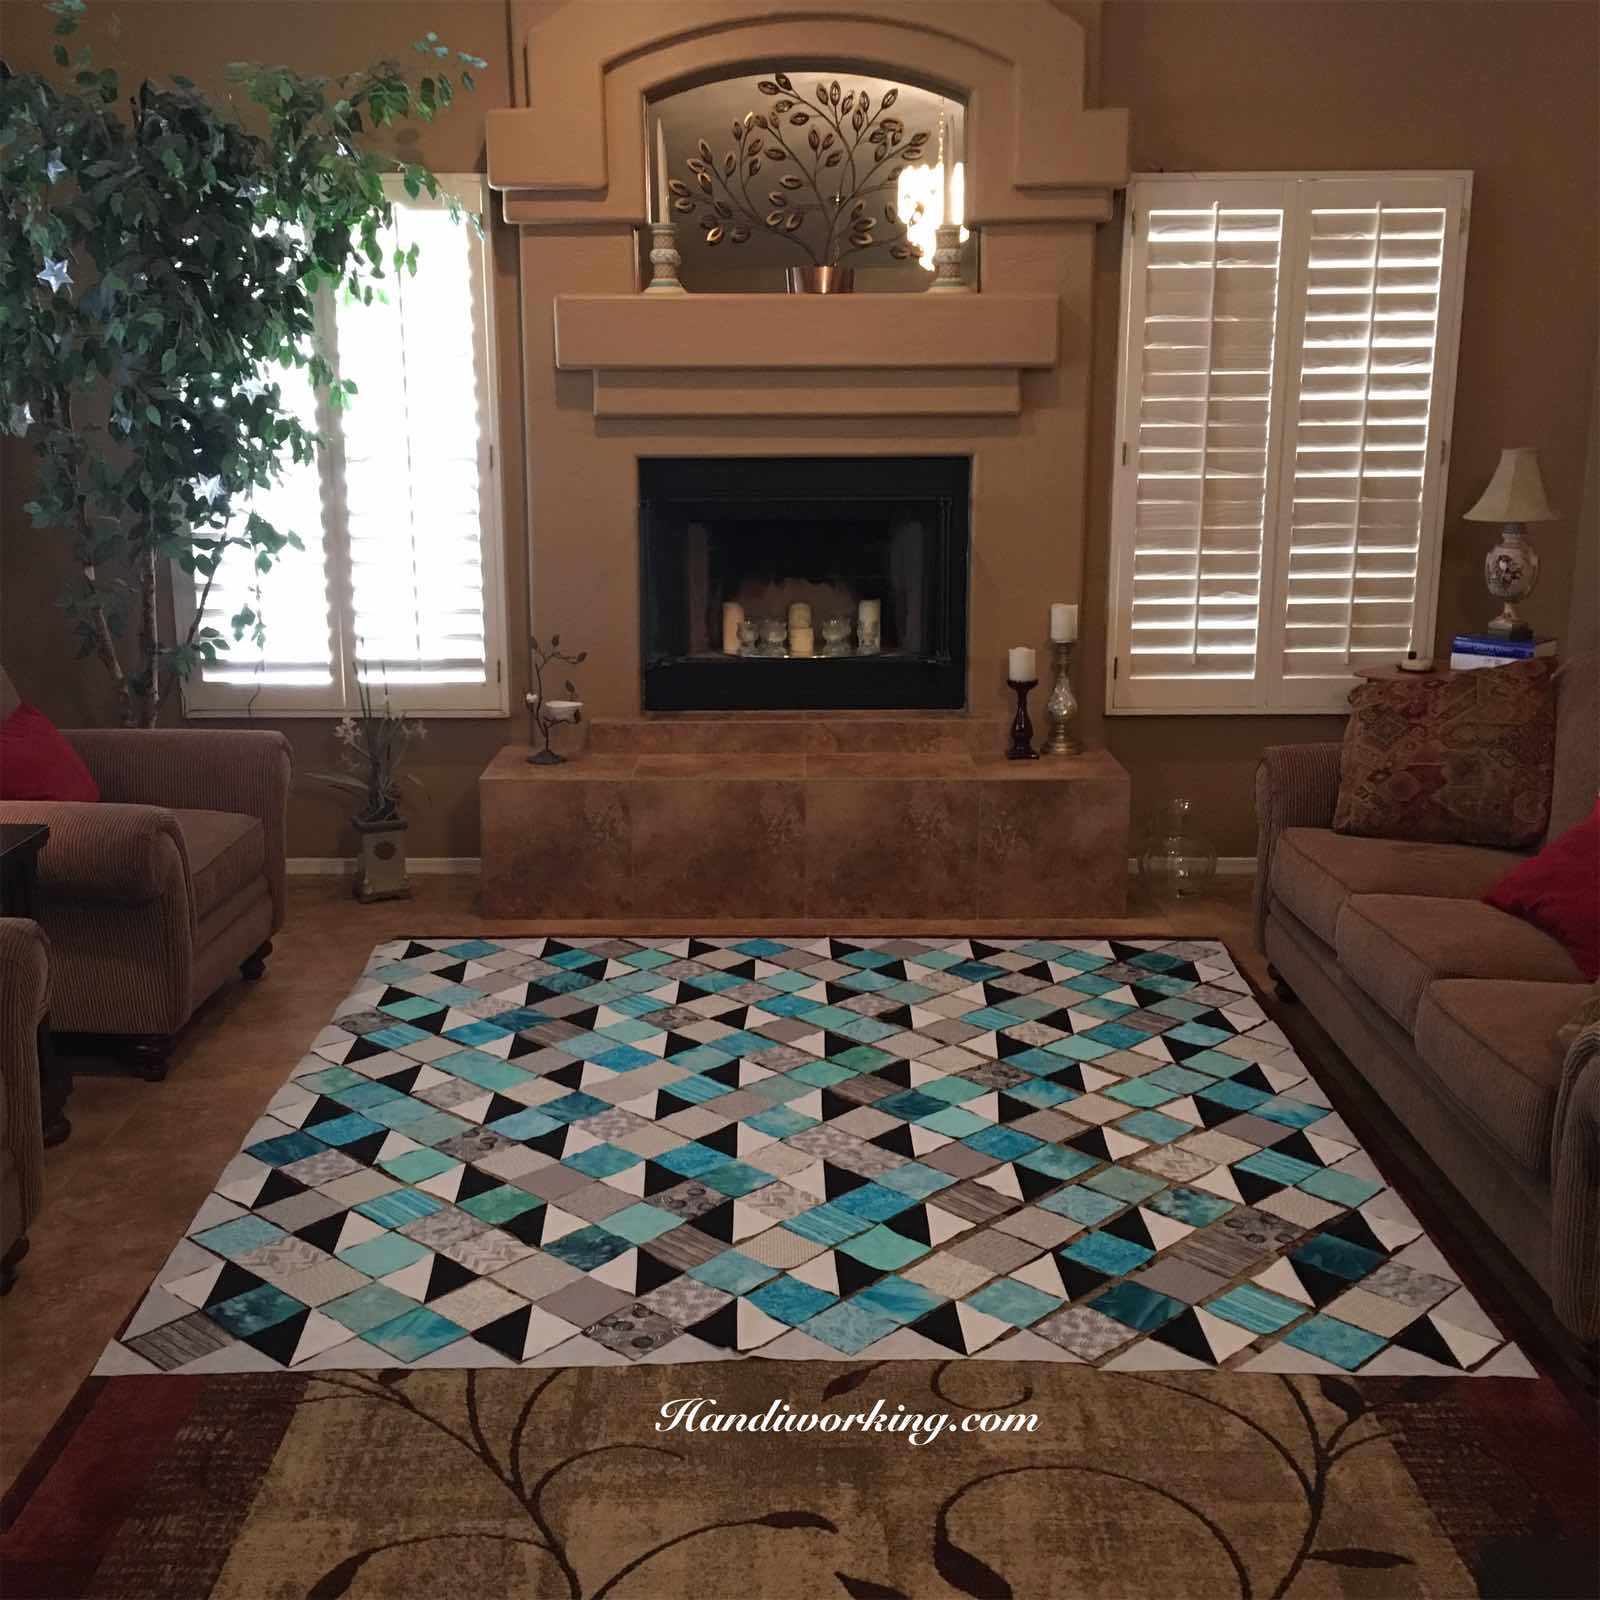
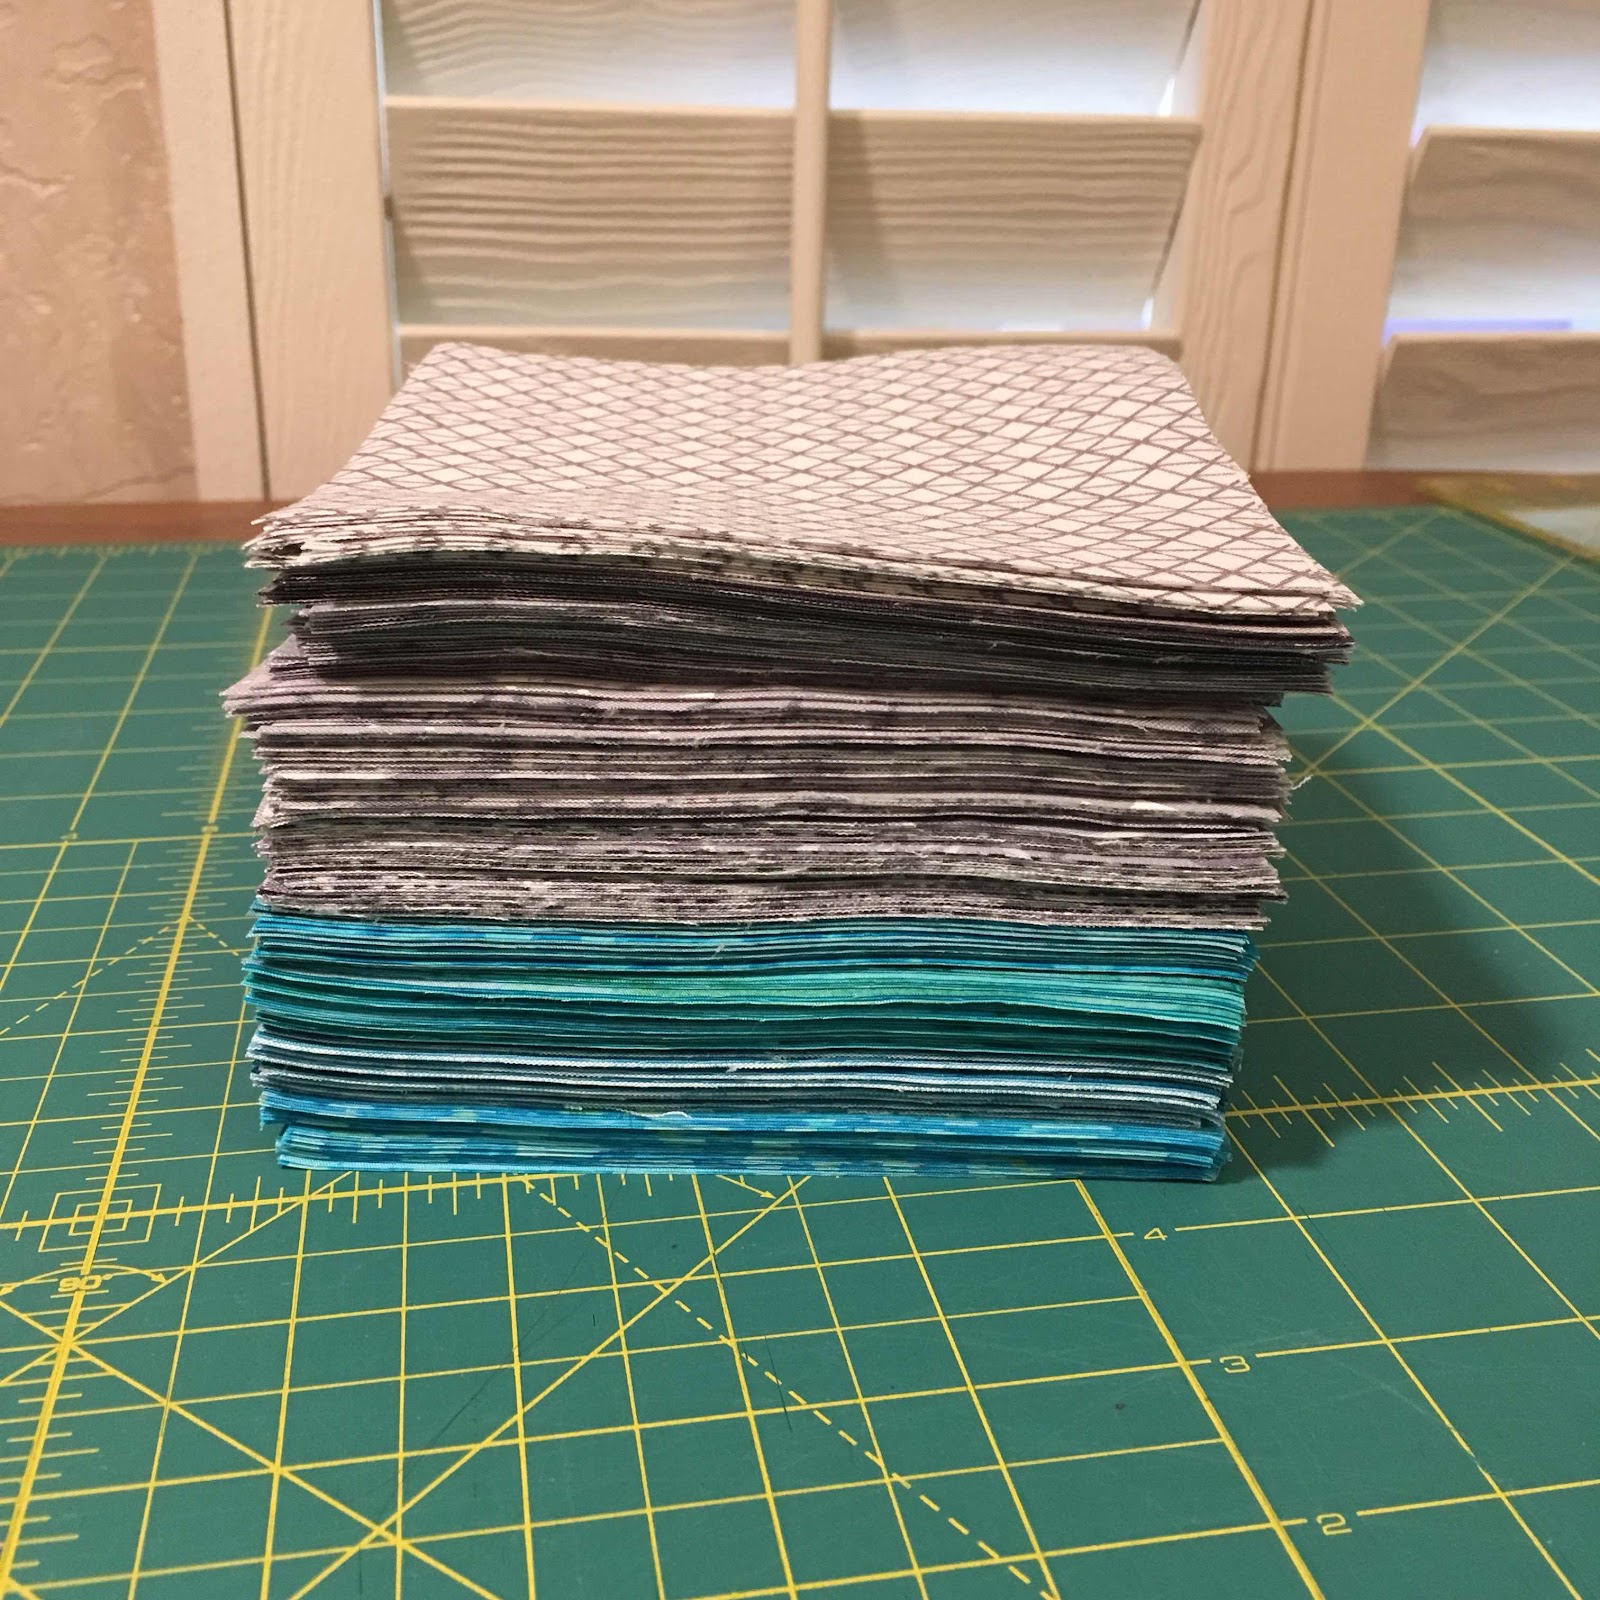
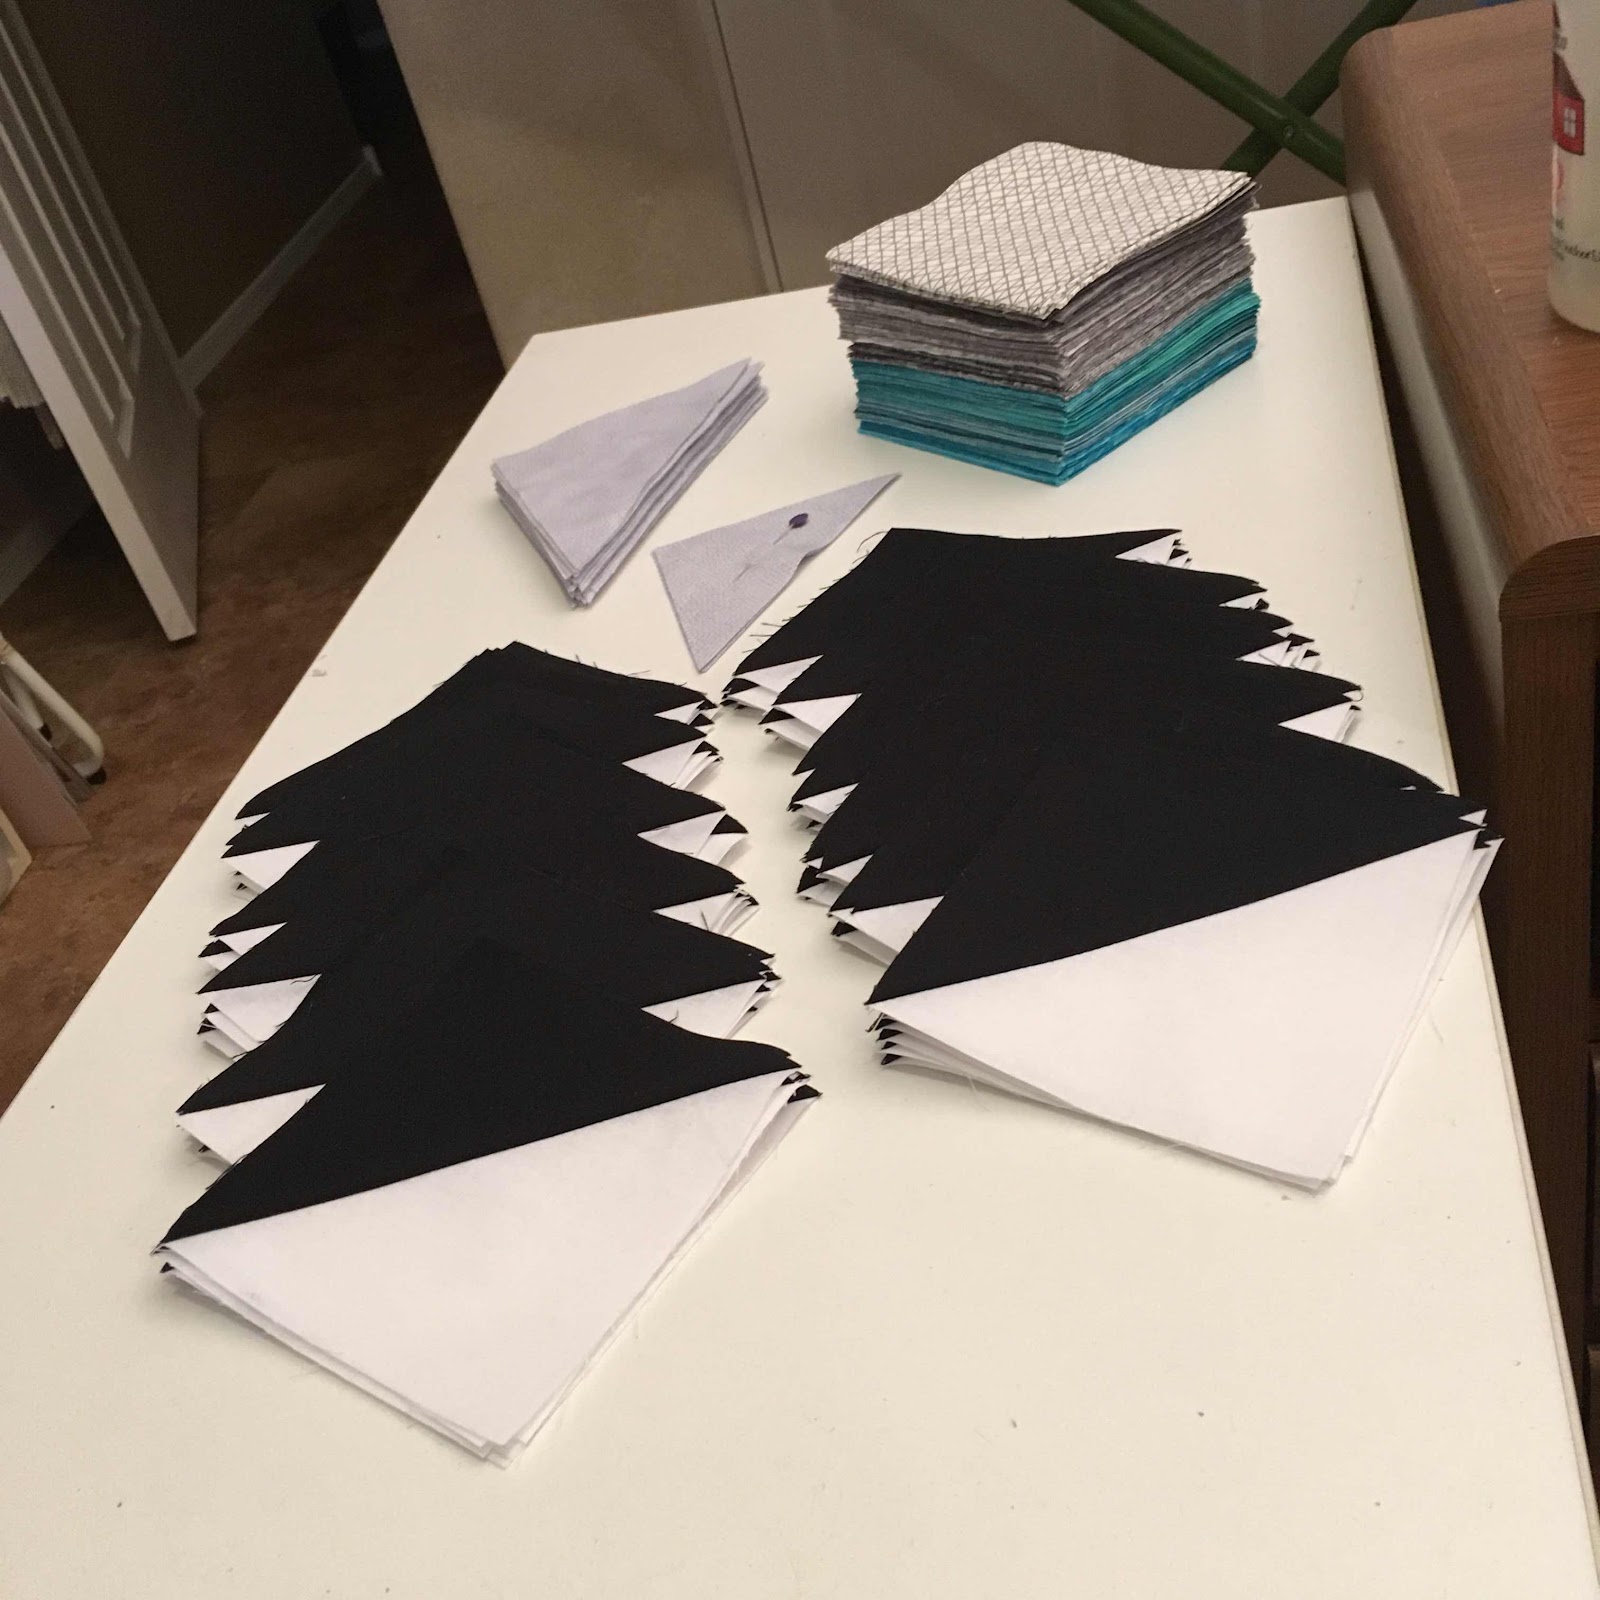
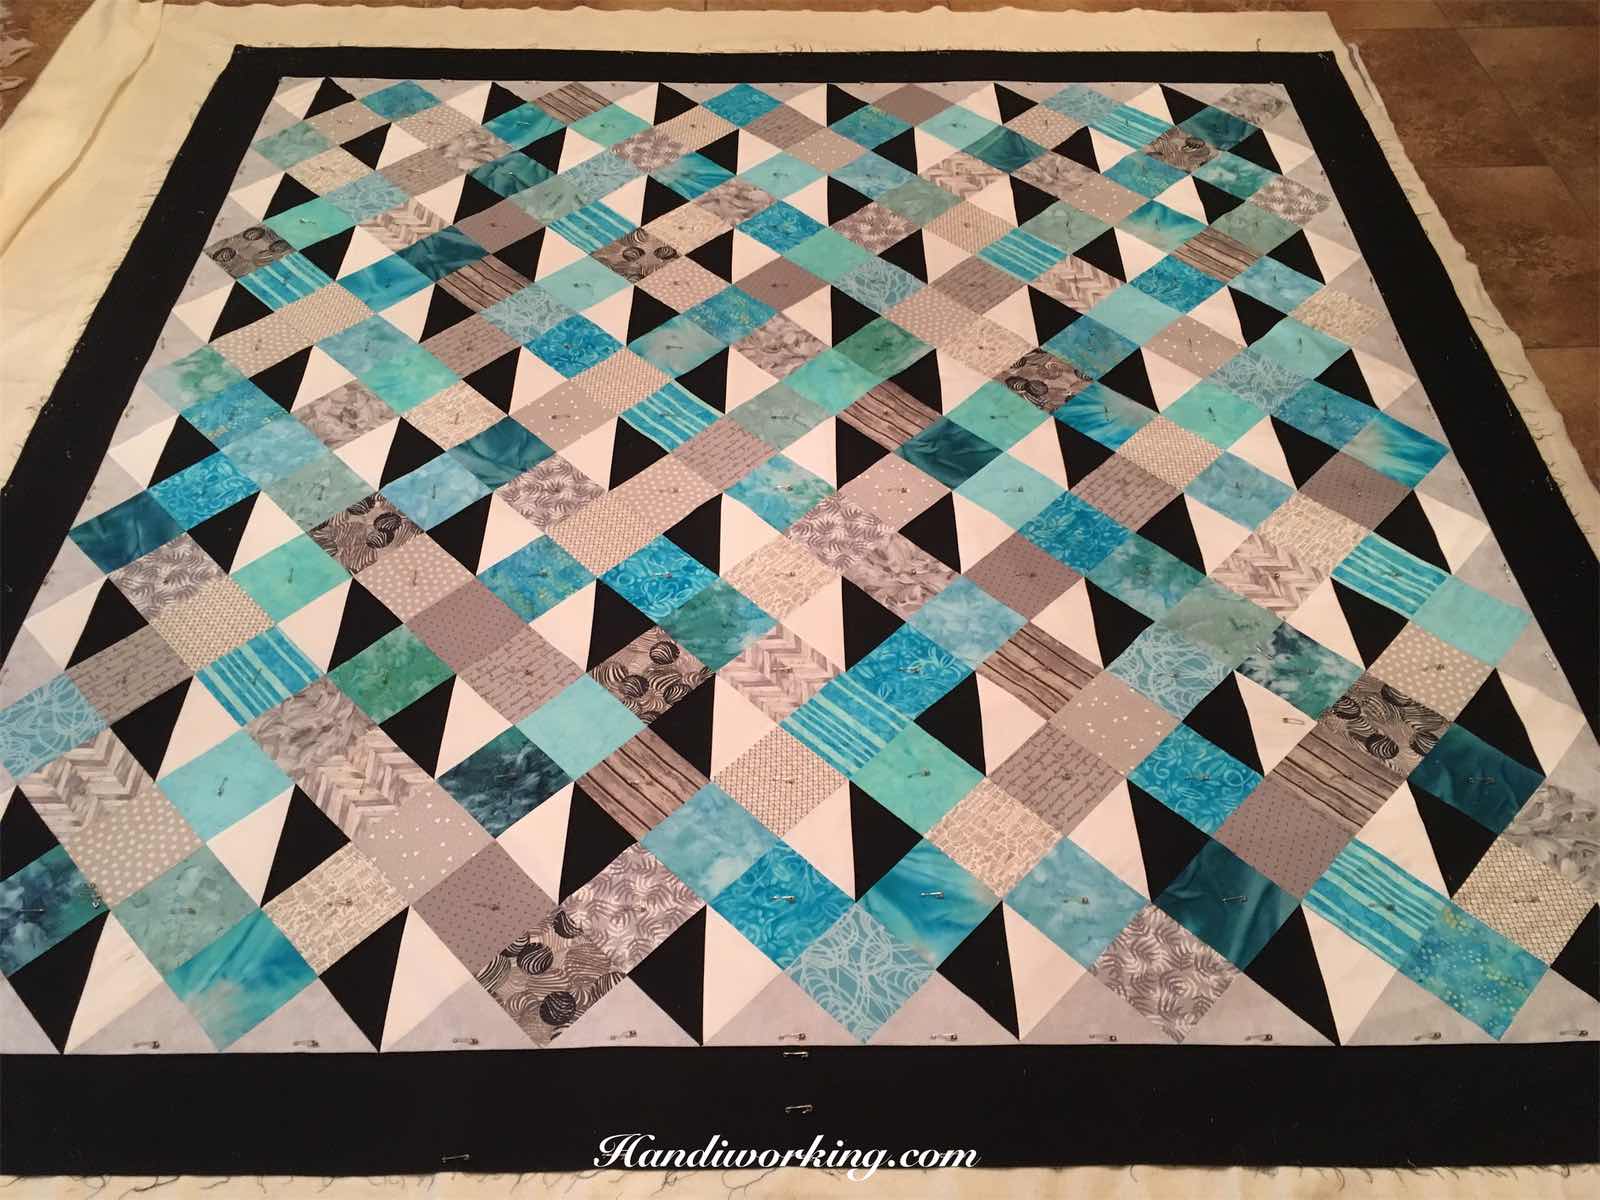
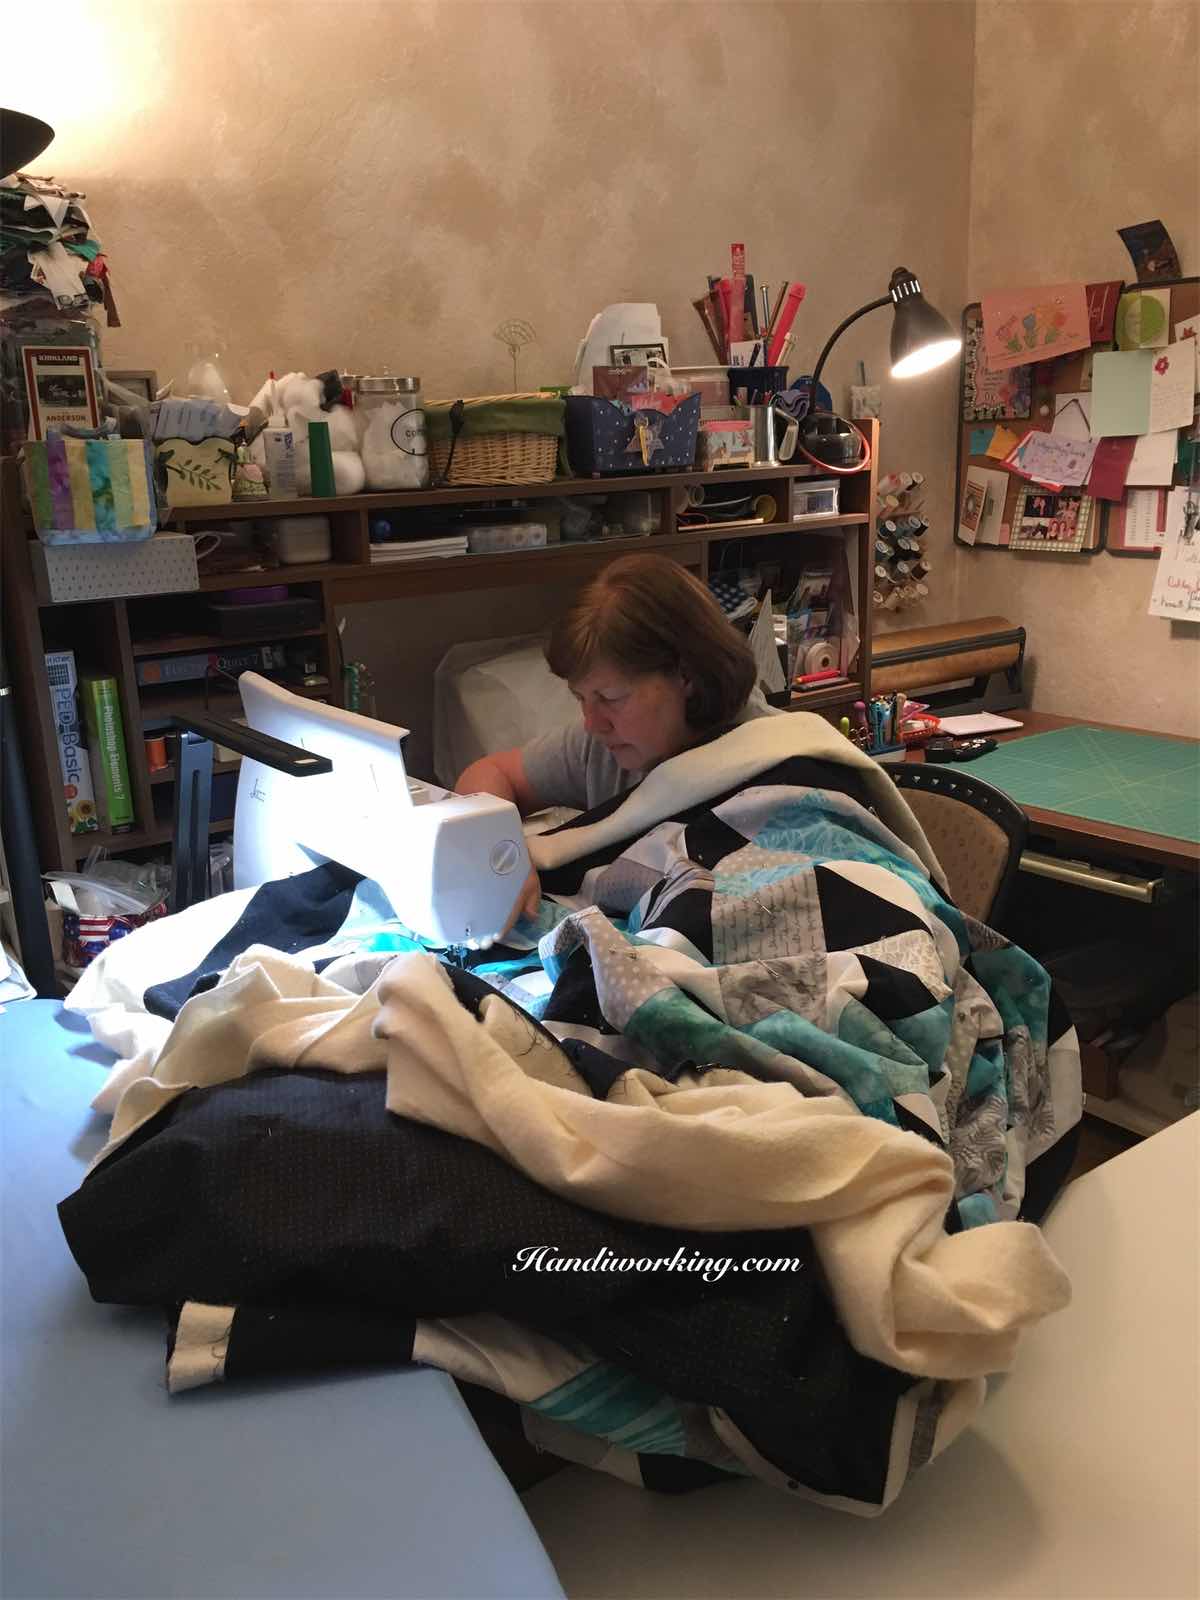
I’m a very slow and somewhat random quilter — started cutting on April 2nd and finished binding June 2nd, one week before the wedding. At 86” square, this is the largest quilt I’ve made and it was challenging quilting it. There was quilt hanging over my shoulder, the table to my left and the ironing board behind my machine. I decided on all straight line quilting with my walking foot. And you’ll notice a mistake in the lower right corner of the next picture which, thankfully, I caught before quilting. Had two blocks turned the wrong direction but I was able to unpick and resew them without taking the entire thing apart.

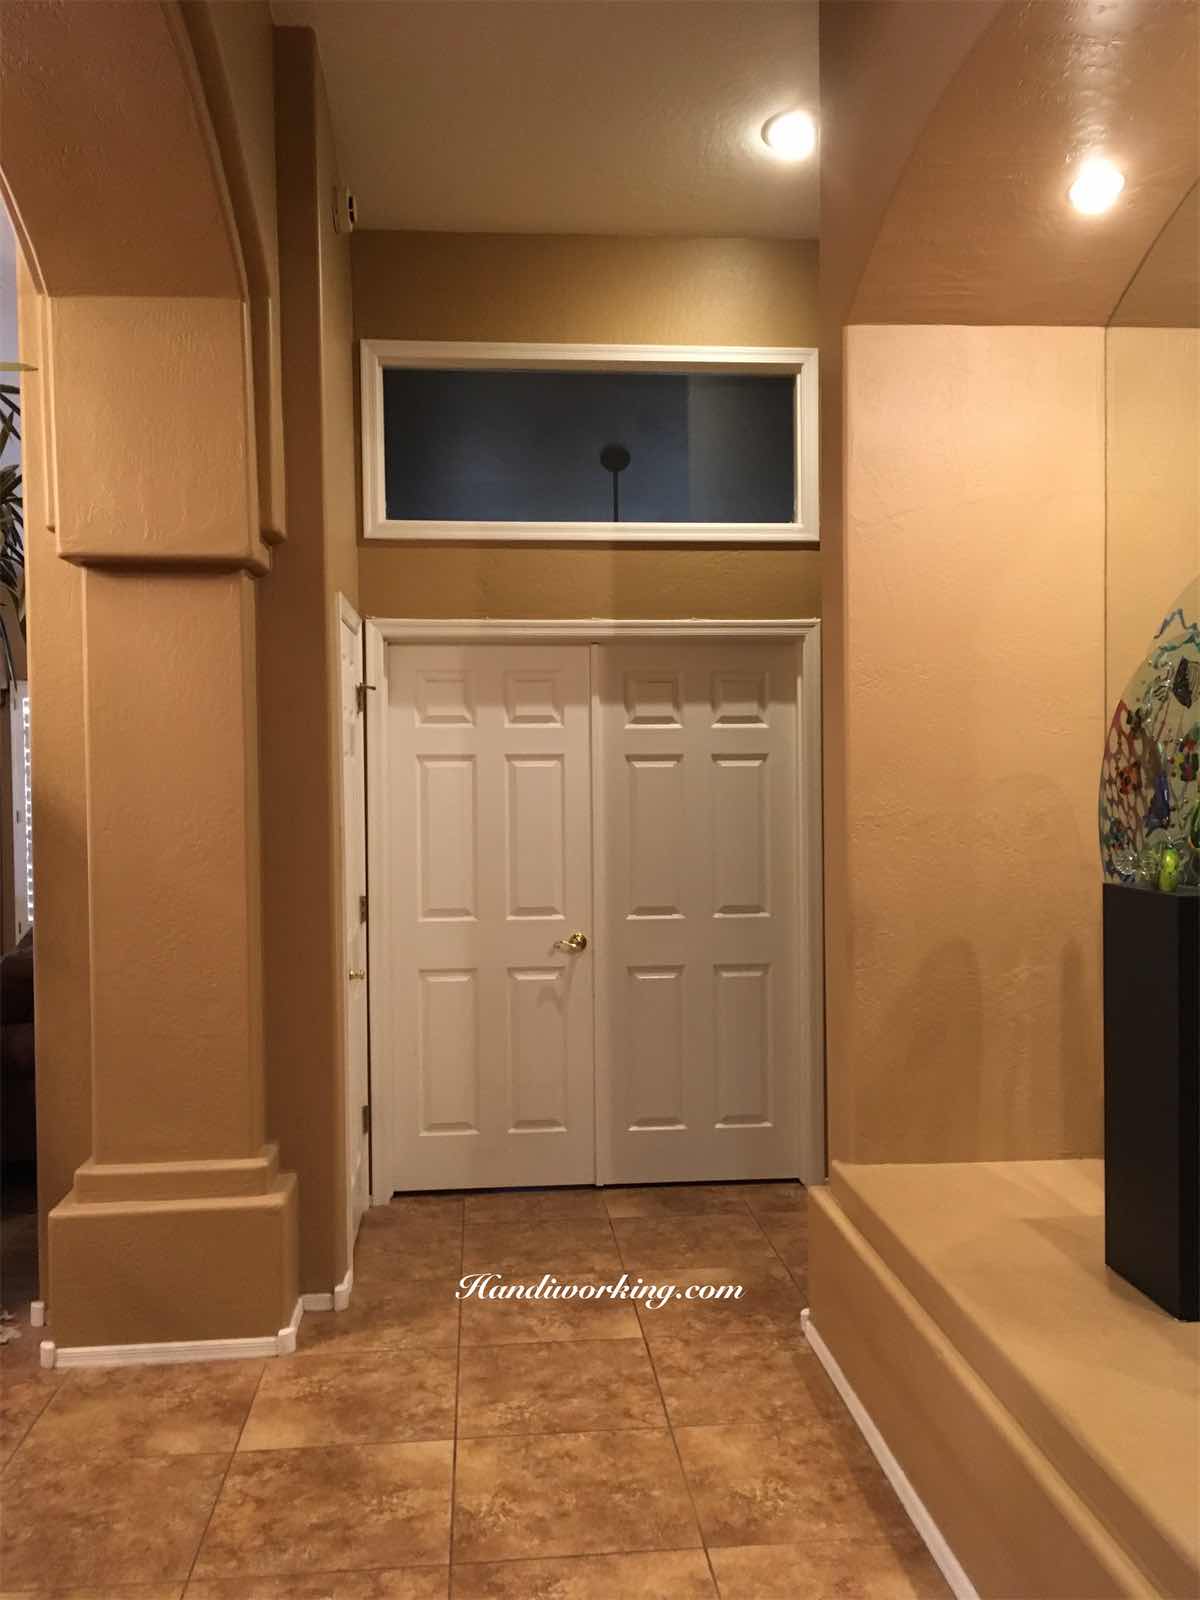
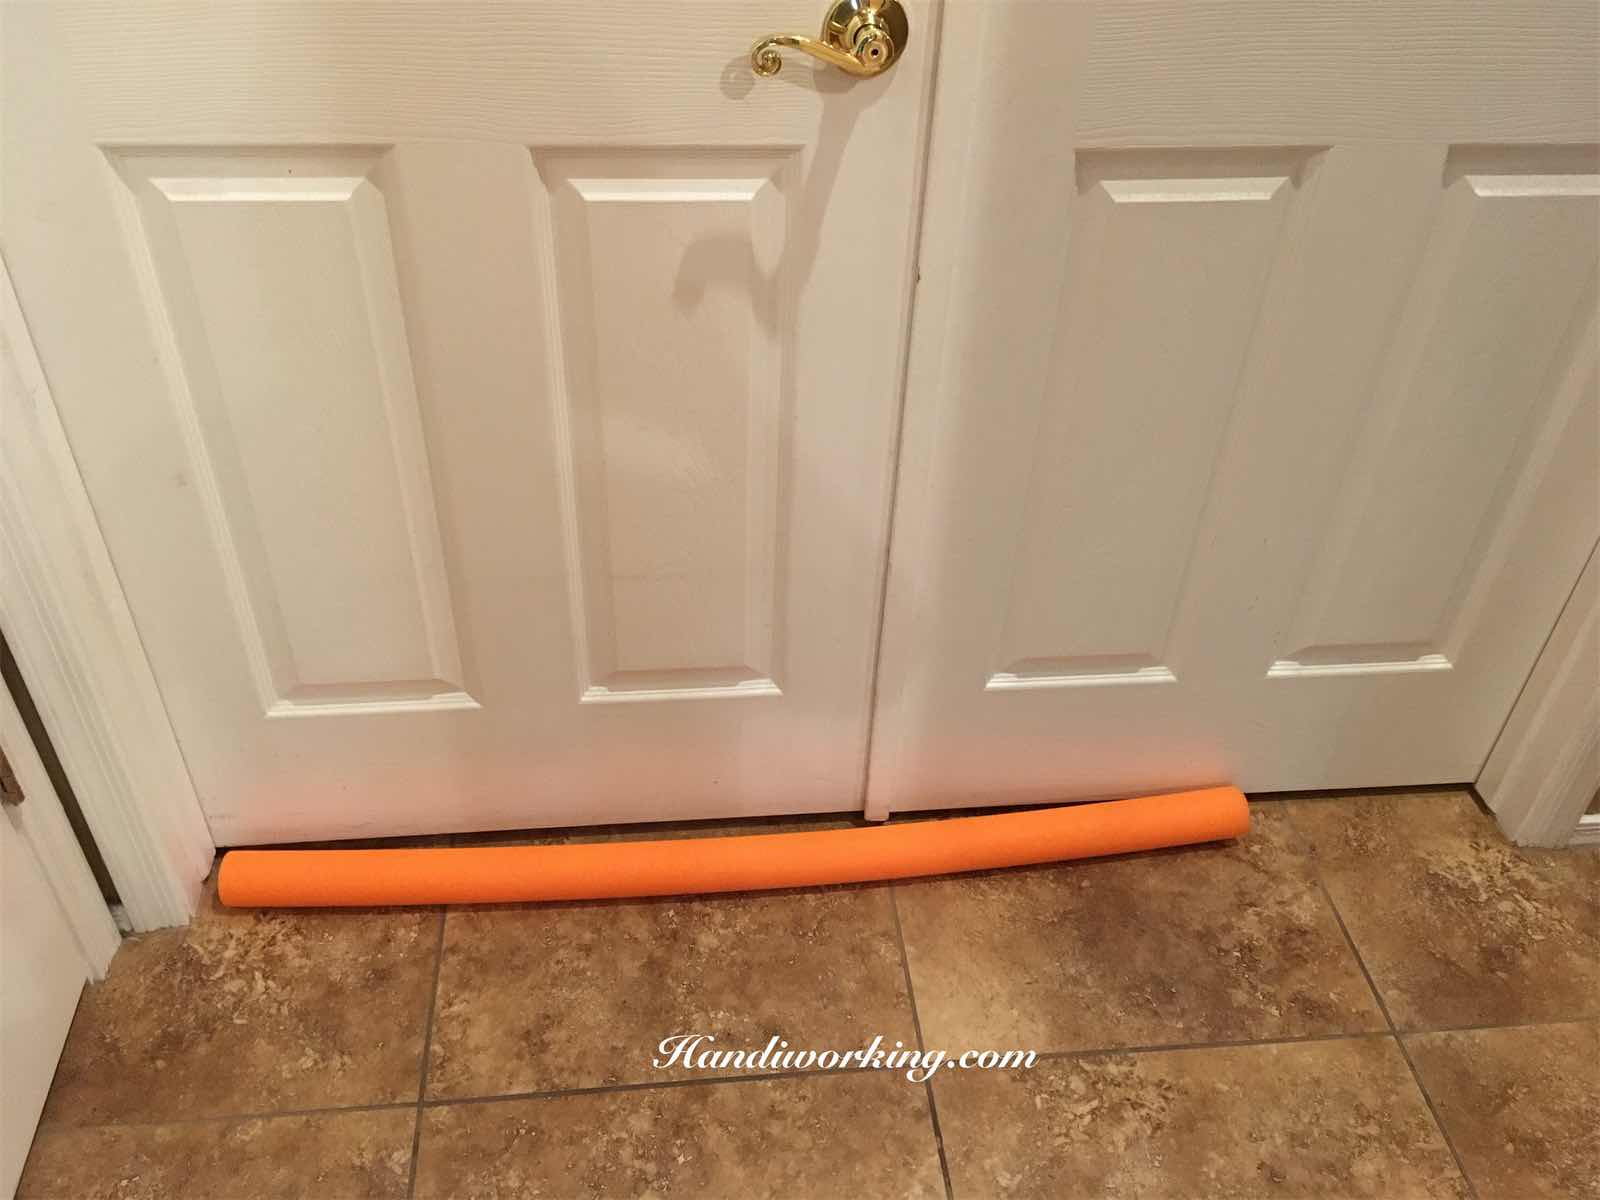
Another “funny” thing happened as I was preparing the quilt sandwich for pin basting. All the layers were ironed and steamed, flat and wrinkle free. I had taped the backing down to the foyer floor, which is my favorite area for this. The cotton batting was carefully adjusted over the backing and the quilt top was centered and smoothed over the batting. On a large quilt, this takes me a while, crawling carefully around and over it all until I’m satisfied that it can’t get any more perfect. This includes knees creaking and back popping, some sweating and cussing. Finally nailed it, got up and went to the kitchen ... and the doorbell rang. Our two darling Yorkies, Louie and Miles (or Milesyoulittlebastard as he is affectionately known in our neighborhood) did their jobs and headed to the front door, barking to alert me to a delivery, running in circles and completely spoiling that beautiful quilt sandwich. *sigh* Had to start over the next day but got it all pin basted and ready for quilting.


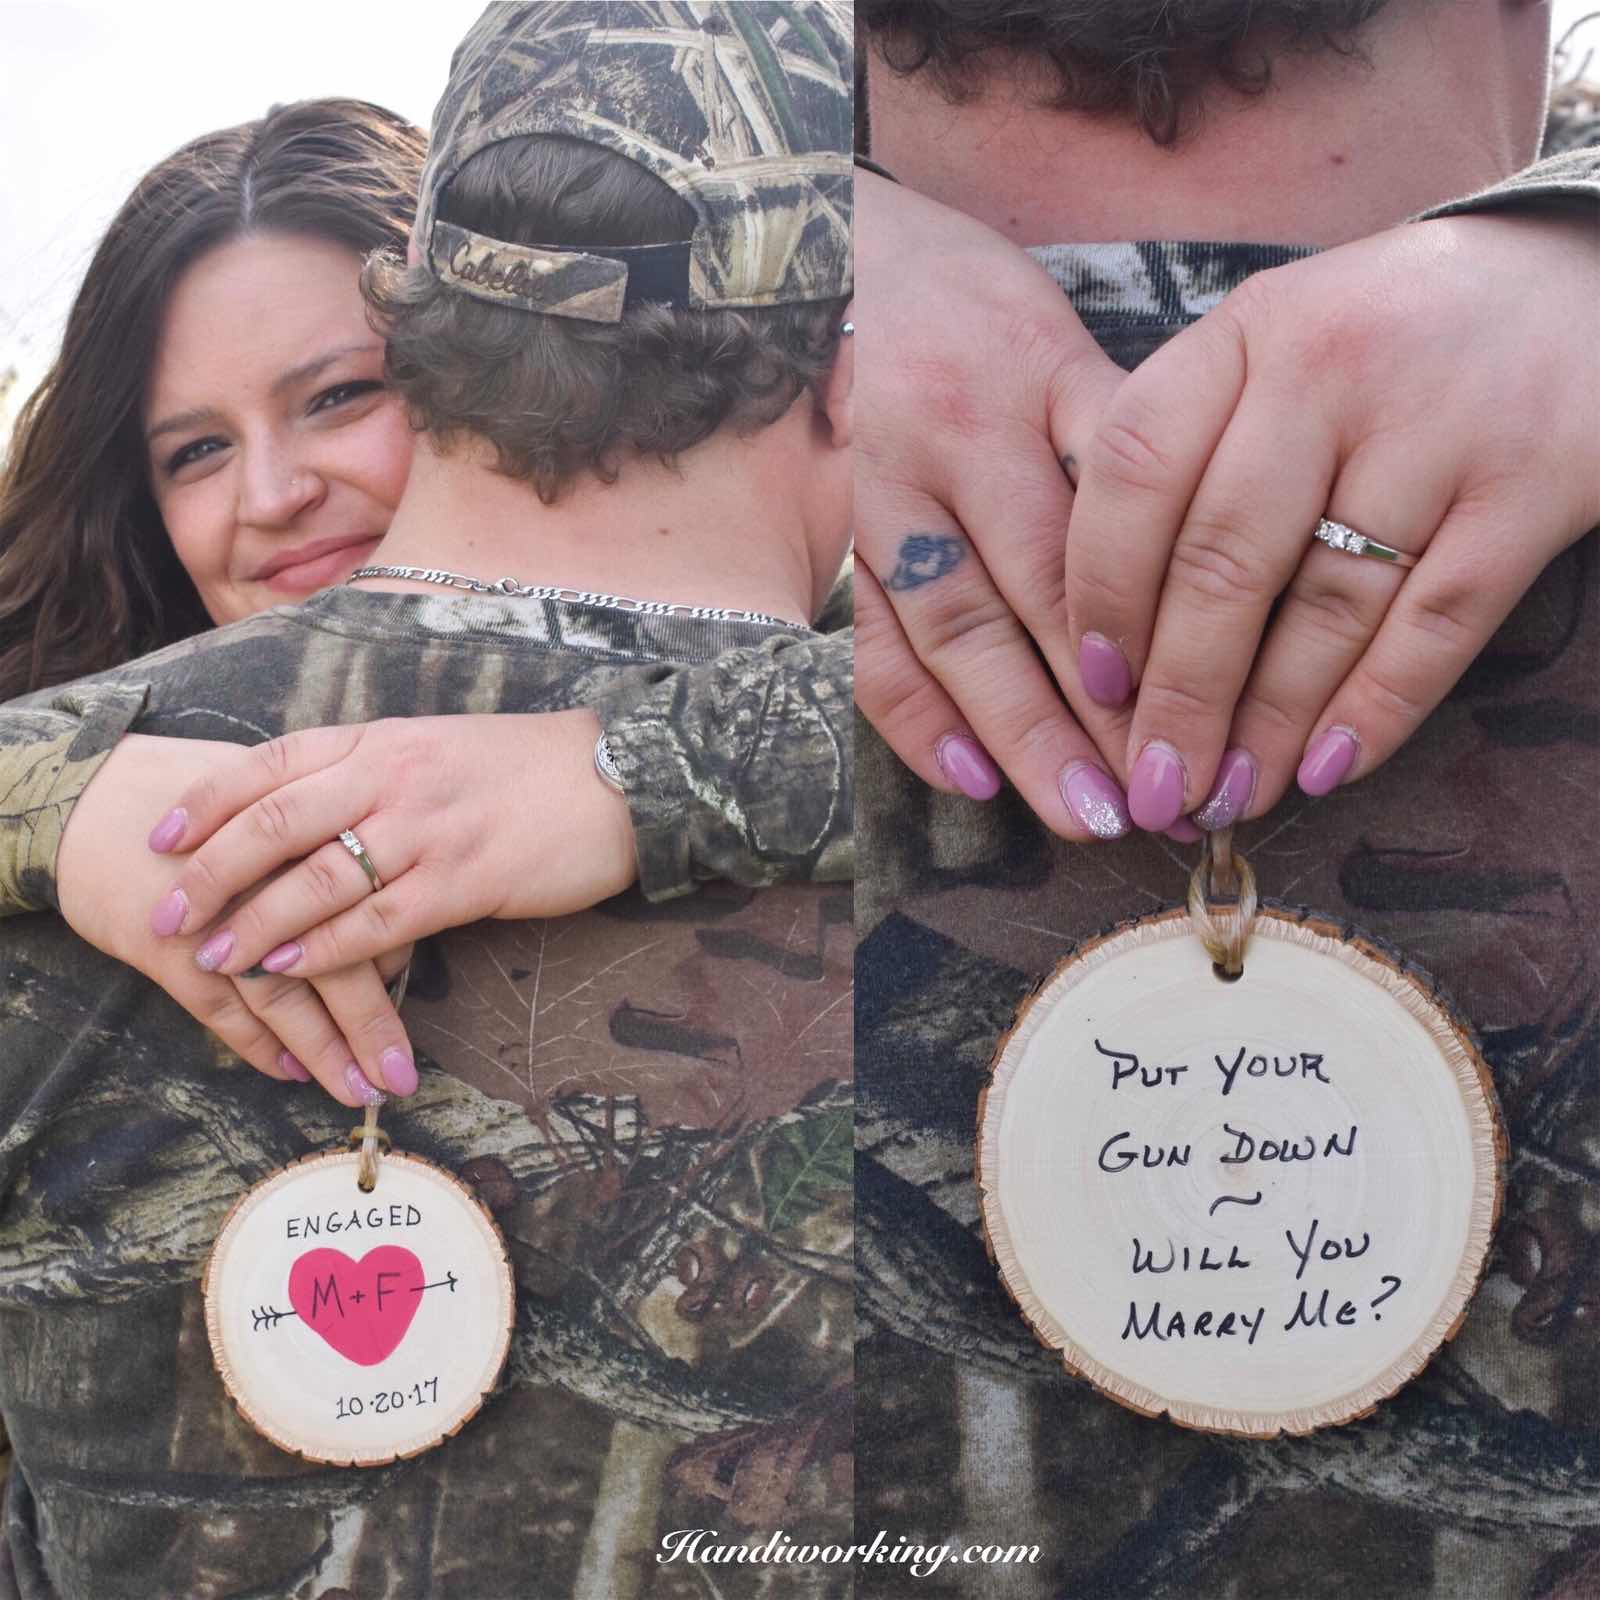
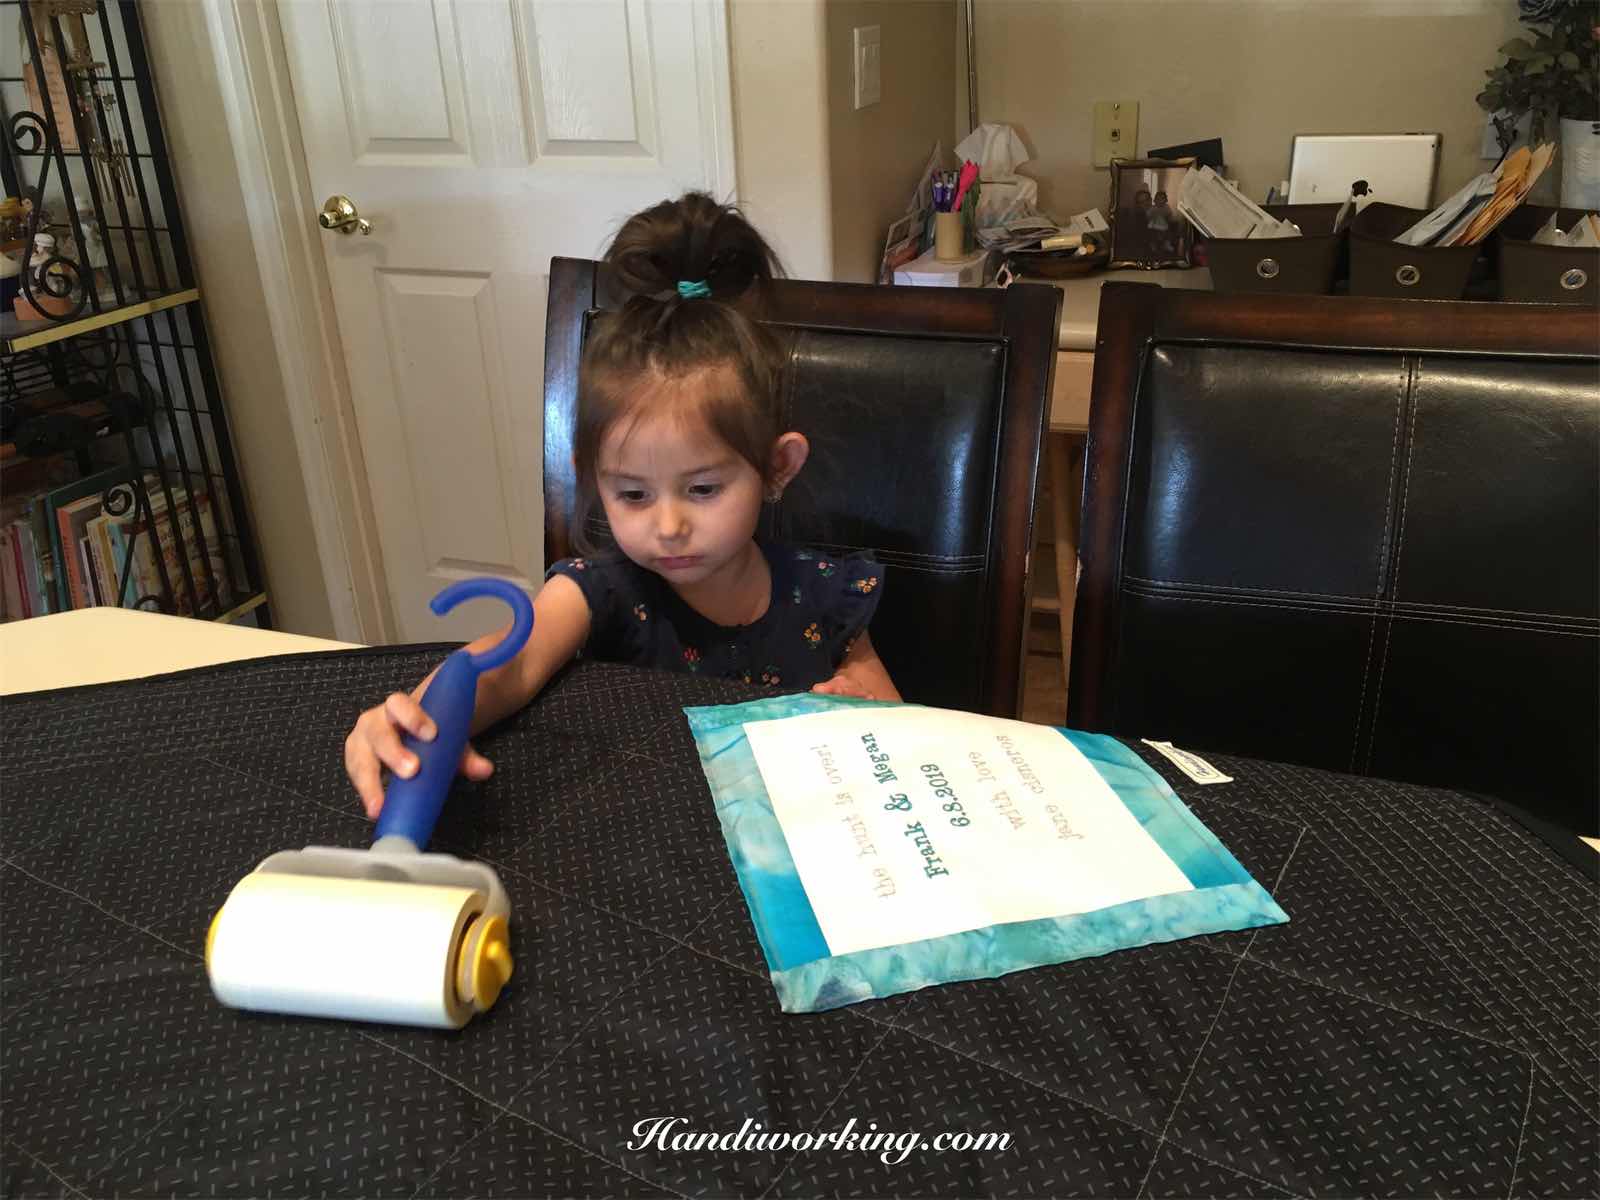
The embroidered label had to include a reference to their love of hunting. It goes nicely with the engagement ornament I had made for them. And that is what he said to her before proposing during a hunting trip!


After finishing up the quilting, there was quite a bit of lint visible on the black fabrics so our granddaughter, 2-year-old Abby, helped by going over it with the lint roller. I always wash quilts before gifting them for two reasons. First, I do not prewash quilting fabrics. I love that they shrink up a little and get all soft and crinkly after washing. Second, I always use Color Catchers in cold water to make sure that I get any dyes before they absorb into the light colors on the quilt. I used three of them this time and they were very dark gray from all the black fabric. The quilt came out perfect with no bleeding onto the white and light fabrics.


Hopefully, this quilt will keep them feeling warm and cozy throughout those chilly Minnesota winters. Aunt Janie loves you two!


Saturday, April 27, 2019

How to Make an Under Door Sound Muffler


I am not a fan of wall-to-wall carpeting after many years with dogs and kids leaving their marks on it. In 2009, we removed all carpet and installed this beautiful gold ceramic tile, which I absolutely love to this day. It is made to last, easy to care for and always looks good. The only minor issue we’ve had is that sound can carry, especially with our high ceilings. It hasn’t been a real problem until recently when our home office became the grandbaby’s bedroom. 


This room is located in the ell of the house that connects the kitchen, dining, living room areas with the bedrooms. There is a good sized gap under the double doors on that room and noise seeps in  ... television, talking, the dogs running back and forth. During nap and bed time, Abby hears everything and wants to join the goings on. Can you blame her?

So I came up with an inexpensive sound muffler using two pool noodles from the dollar store wrapped in fabric. I used upholstery fabric that I’ve had for many years but large towels would work well, too.

I measured the width of the doors and cut each noodle slightly shorter using a serrated knife, then cut each one in half lengthwise. 


I laid a half noodle on either side of the door, flat side down, and wrapped a measuring tape around them to see how much fabric I’d need. I stitched the long wrong sides together into a sleeve and finished each end with my serger before turning right side out. You could do all of this with a regular sewing machine or even just a glue gun.


I slid the noodle halves into the sleeve, tucked the ends in around the noodles, and slid them under each door. 


The doors slide open and closed easily and, best of all, have cut the noise into that room way down. I love the way they look and the whole project only cost $2!


Saturday, March 2, 2019

Log Cabin Broncos Quilt


Football season kicks off in September and we are ready. I finally put the finishing touches and last stitches in my sweet Hubby’s Broncos quilt, which will be perfect for this Denver native and forever fan.


With orange and navy basic colors jelly rolls from jellyrollfabric.net and the log cabin pattern from Jordan Fabrics, this quilt was so much fun to make! My oldest daughter had also surprised me with Broncos fabrics from Joann’s that were great for borders and backing. The orange binding is also from Joann’s.


Quilting is free motion meandering on the log cabin blocks and straight line on the borders with gray thread.


I decided the busyness of the backing called for a simple machine embroidered label and, of course, my Handiworking label from Lilla Lotta.


Hanging out in his easy chair watching the games will be a lot cozier from now on! ๐Ÿงก๐Ÿ’™


Saturday, January 12, 2019

Heart Wreaths for Spring


Christmas decorations were taken down and stored last weekend during our granddaughter’s nap. For a solid month, Abby has played constantly with the musical decorations. There are four of them that sing, shake, jingle and howl, and her greatest joy has been getting all of them going at once while she dances around. She had just played with them that morning and, upon waking, she charged into the living room, screeched to a halt and gasped in shock. She was pretty sad that Christmas was gone. I had collected those musical decorations over a few years and have always enjoyed their joyful cuteness immensely. Until this past Christmas when Abby played the daylights out of them. There was palpable relief in the air when they disappeared.


Once our double front doors were bare, I went to the garage wall where hanging bags of wreaths and seasonal floral arrangements wait their turn. The heart-shaped grapevine wreaths I’d put together years ago came out of the bag looking so beat, it was time for a remake. After spending a few minutes on Pinterest looking for inspiration, I headed to Michael’s for supplies.


Once the tulle and old flowers were stripped off of the grapevine forms, I heated up the glue gun and grabbed some floral wire and wire cutters.


Because we need two wreaths for the double doors, I tilted them in opposite directions for balance. When I showed the first one to my Hubby, he immediately said, “It’s crooked,” and wanted to make it hang straight. Nope, I like the angle. 

It’s always nice to have something fresh and cheerful to enjoy after the sparkle of the holiday decorations disappear. Welcome, Spring!


Sunday, November 18, 2018

Hair Bow Organizer


There was some fun — and much needed — crafting going on recently that didn’t have anything to do with sewing. My oldest daughter decided to tackle the hair bow issue we’ve been having since her youngest, Abby, was born. We find random bows in every room of the house and I’m pretty sure we’re missing some because there hasn’t been a specific place to keep them ... until now.

Angie found this cool frame in the Michael’s clearance section, got some hot pink spray paint and ribbon, and put together this great organizer. 


After giving it two coats of paint, she cut 4 lengths of ribbon that stretched from top to bottom of the frame opening, spaced them apart evenly and hot glued them down. Another piece of ribbon was placed at the top for hanging.


It is so cute and so functional! Angie did a great job and whipped this organizer out in no time.

And speaking of cute, here are some of my favorite pics of Abby sporting hair bows.